Turns out, I’m loving reader requests. Today’s hair curling tutorial was inspired by a reader comment! Keep ’em comin’! Anyway, to be honest, I never saw myself getting into “beauty” content. I mean, I almost guarantee you’ll never see a makeup tutorial on here because it’s just not my area. Obviously, I get ready in the morning and apply makeup. But it’s nothing special. And I do the same thing day in and day out. #boring
I feel ok about posting this hair curling tutorial because I do get asked about my process. It’s nothing special and my routine is really a combination of other tutorials I’ve watched & learning how to deal with my hair type. Which, by the way, is pretty thin. It also grows very slow, so I’m hesitant to cut it much shorter.
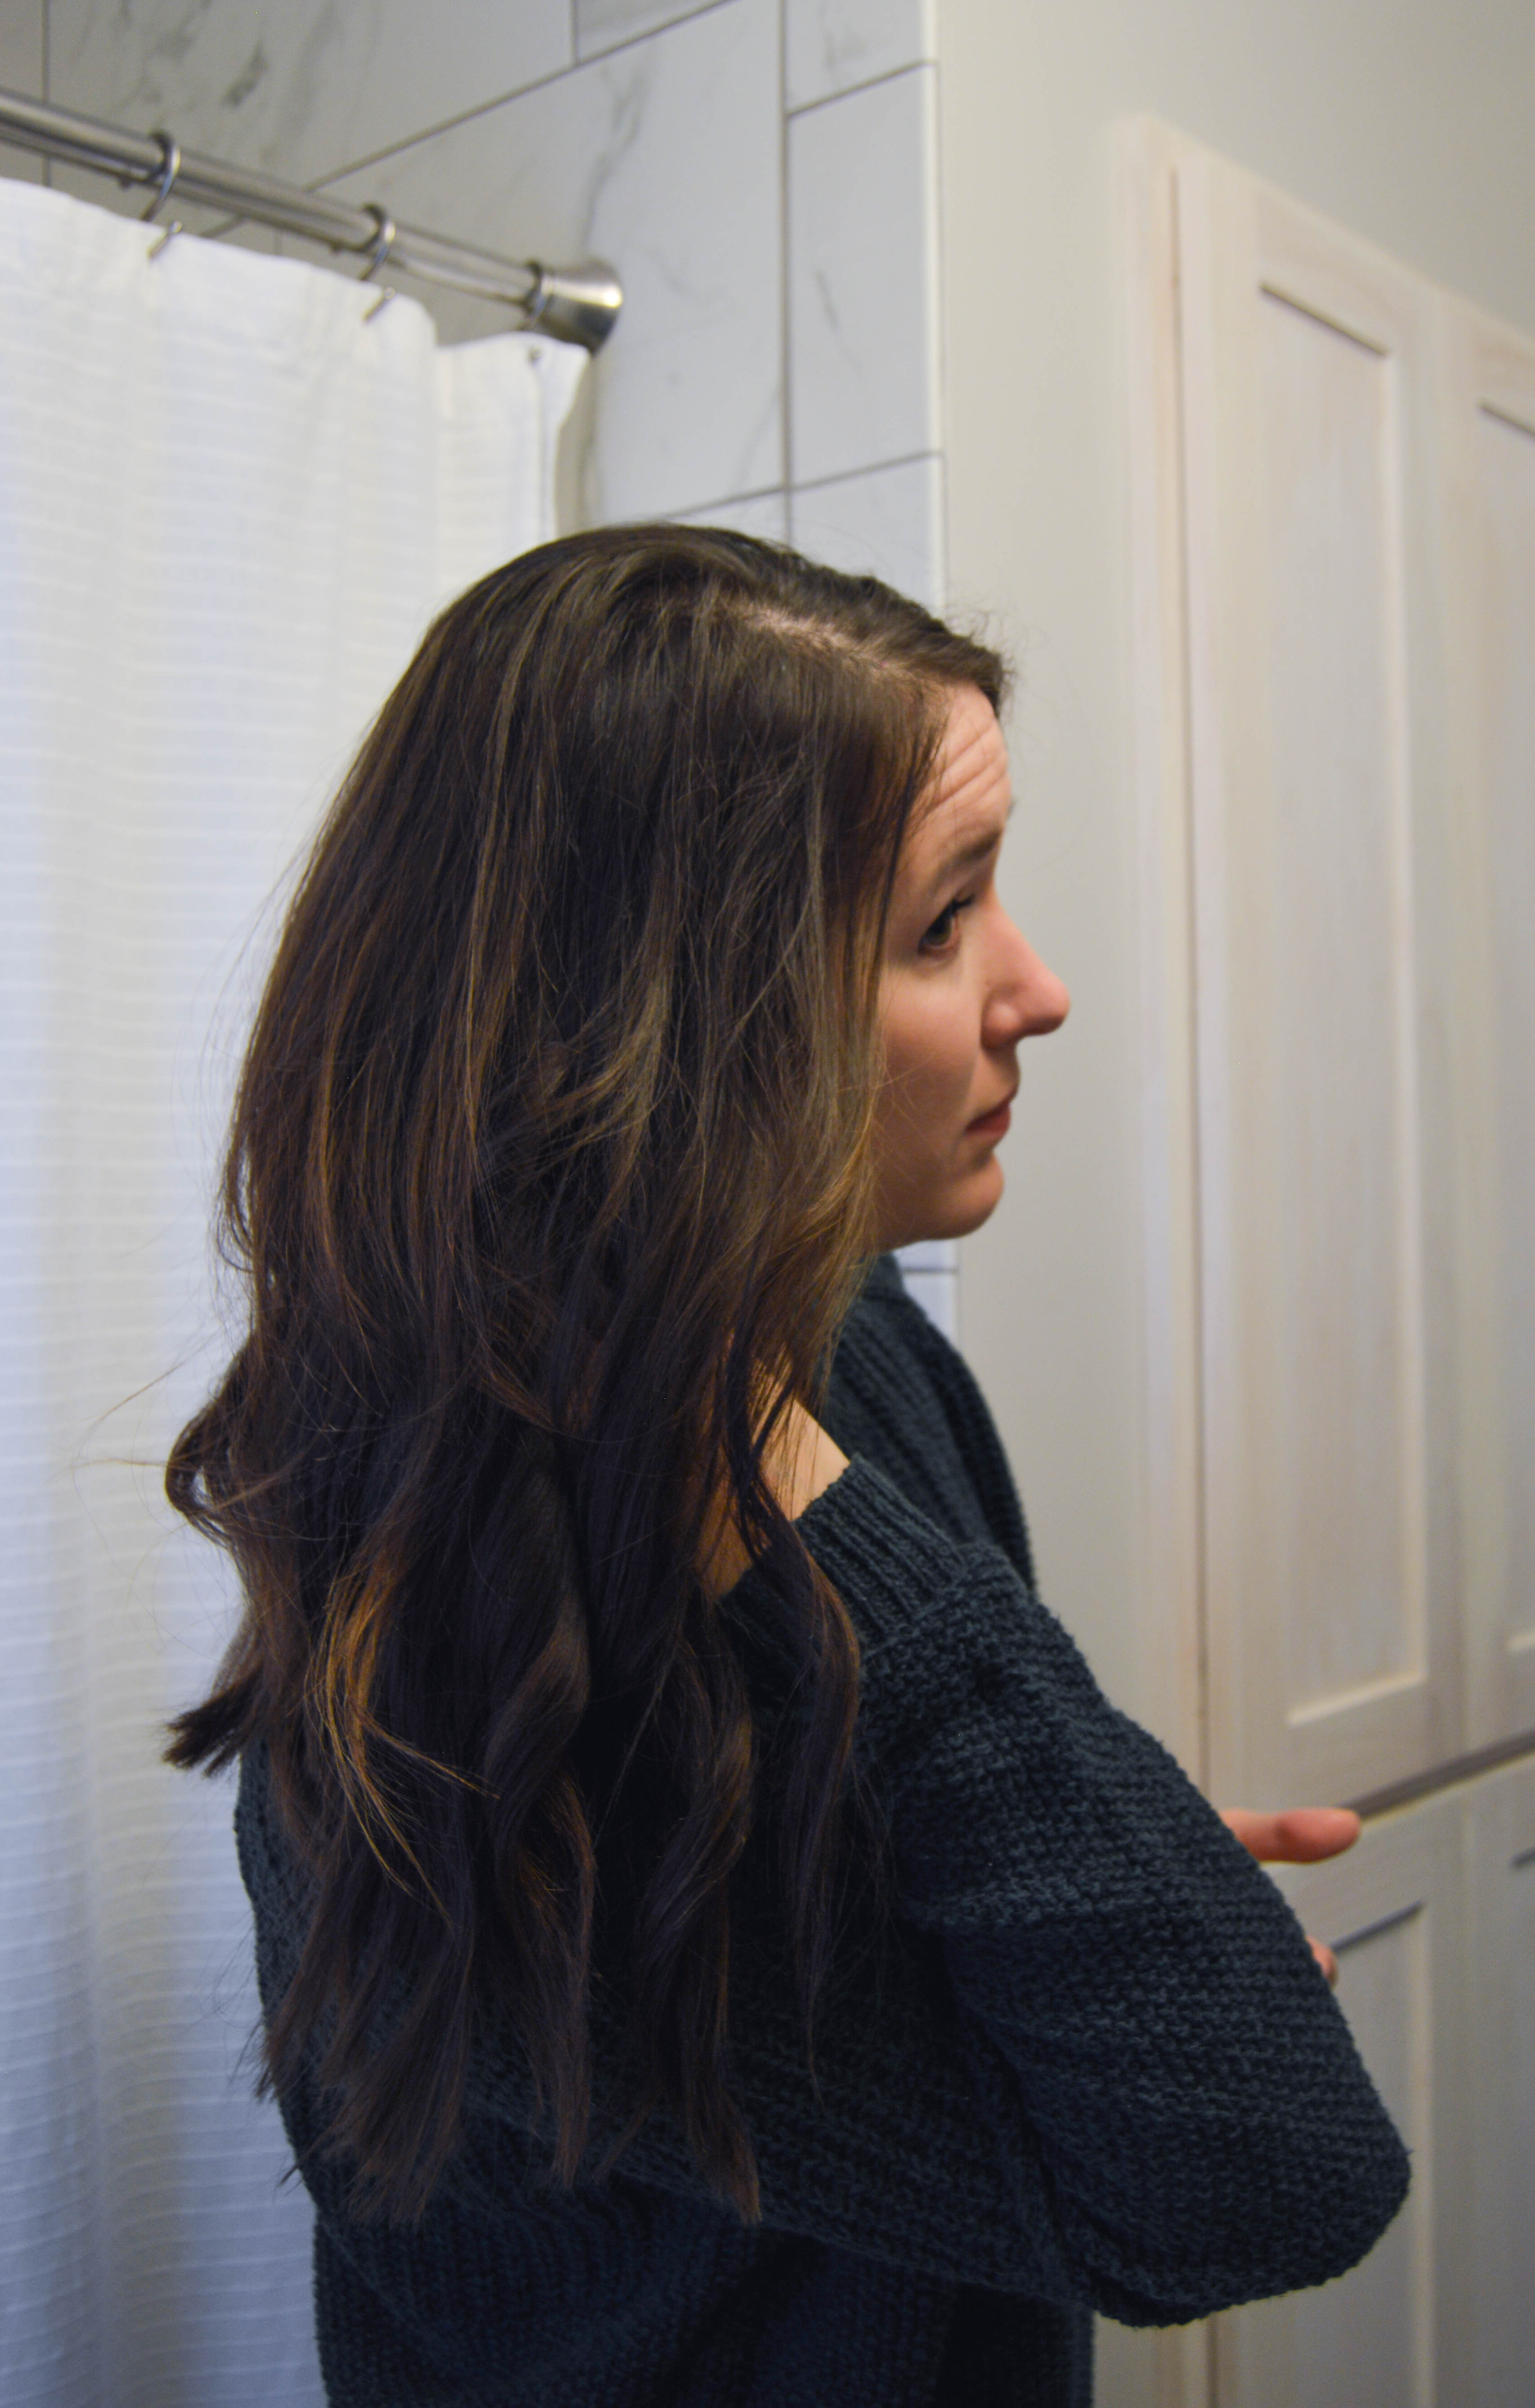
First things first
I hardly ever wash my hair. Since switching over to a dry shampoo routine a few years ago, I’ve noticed a major improvement in how my hair handles. I’ve cut down on blow-drying by washing my hair at night, too. Here’s a pretty typical week: wash Sunday afternoon/evening, air dry; dry shampoo Monday, Tuesday, Wednesday; wash Thursday night, air dry; dry shampoo Friday, Saturday; repeat. It’s safe to say I wash twice a week with 3-4 days in between.
Favorite dry shampoo brands? Psssst, Batiste & Redken (linked below)
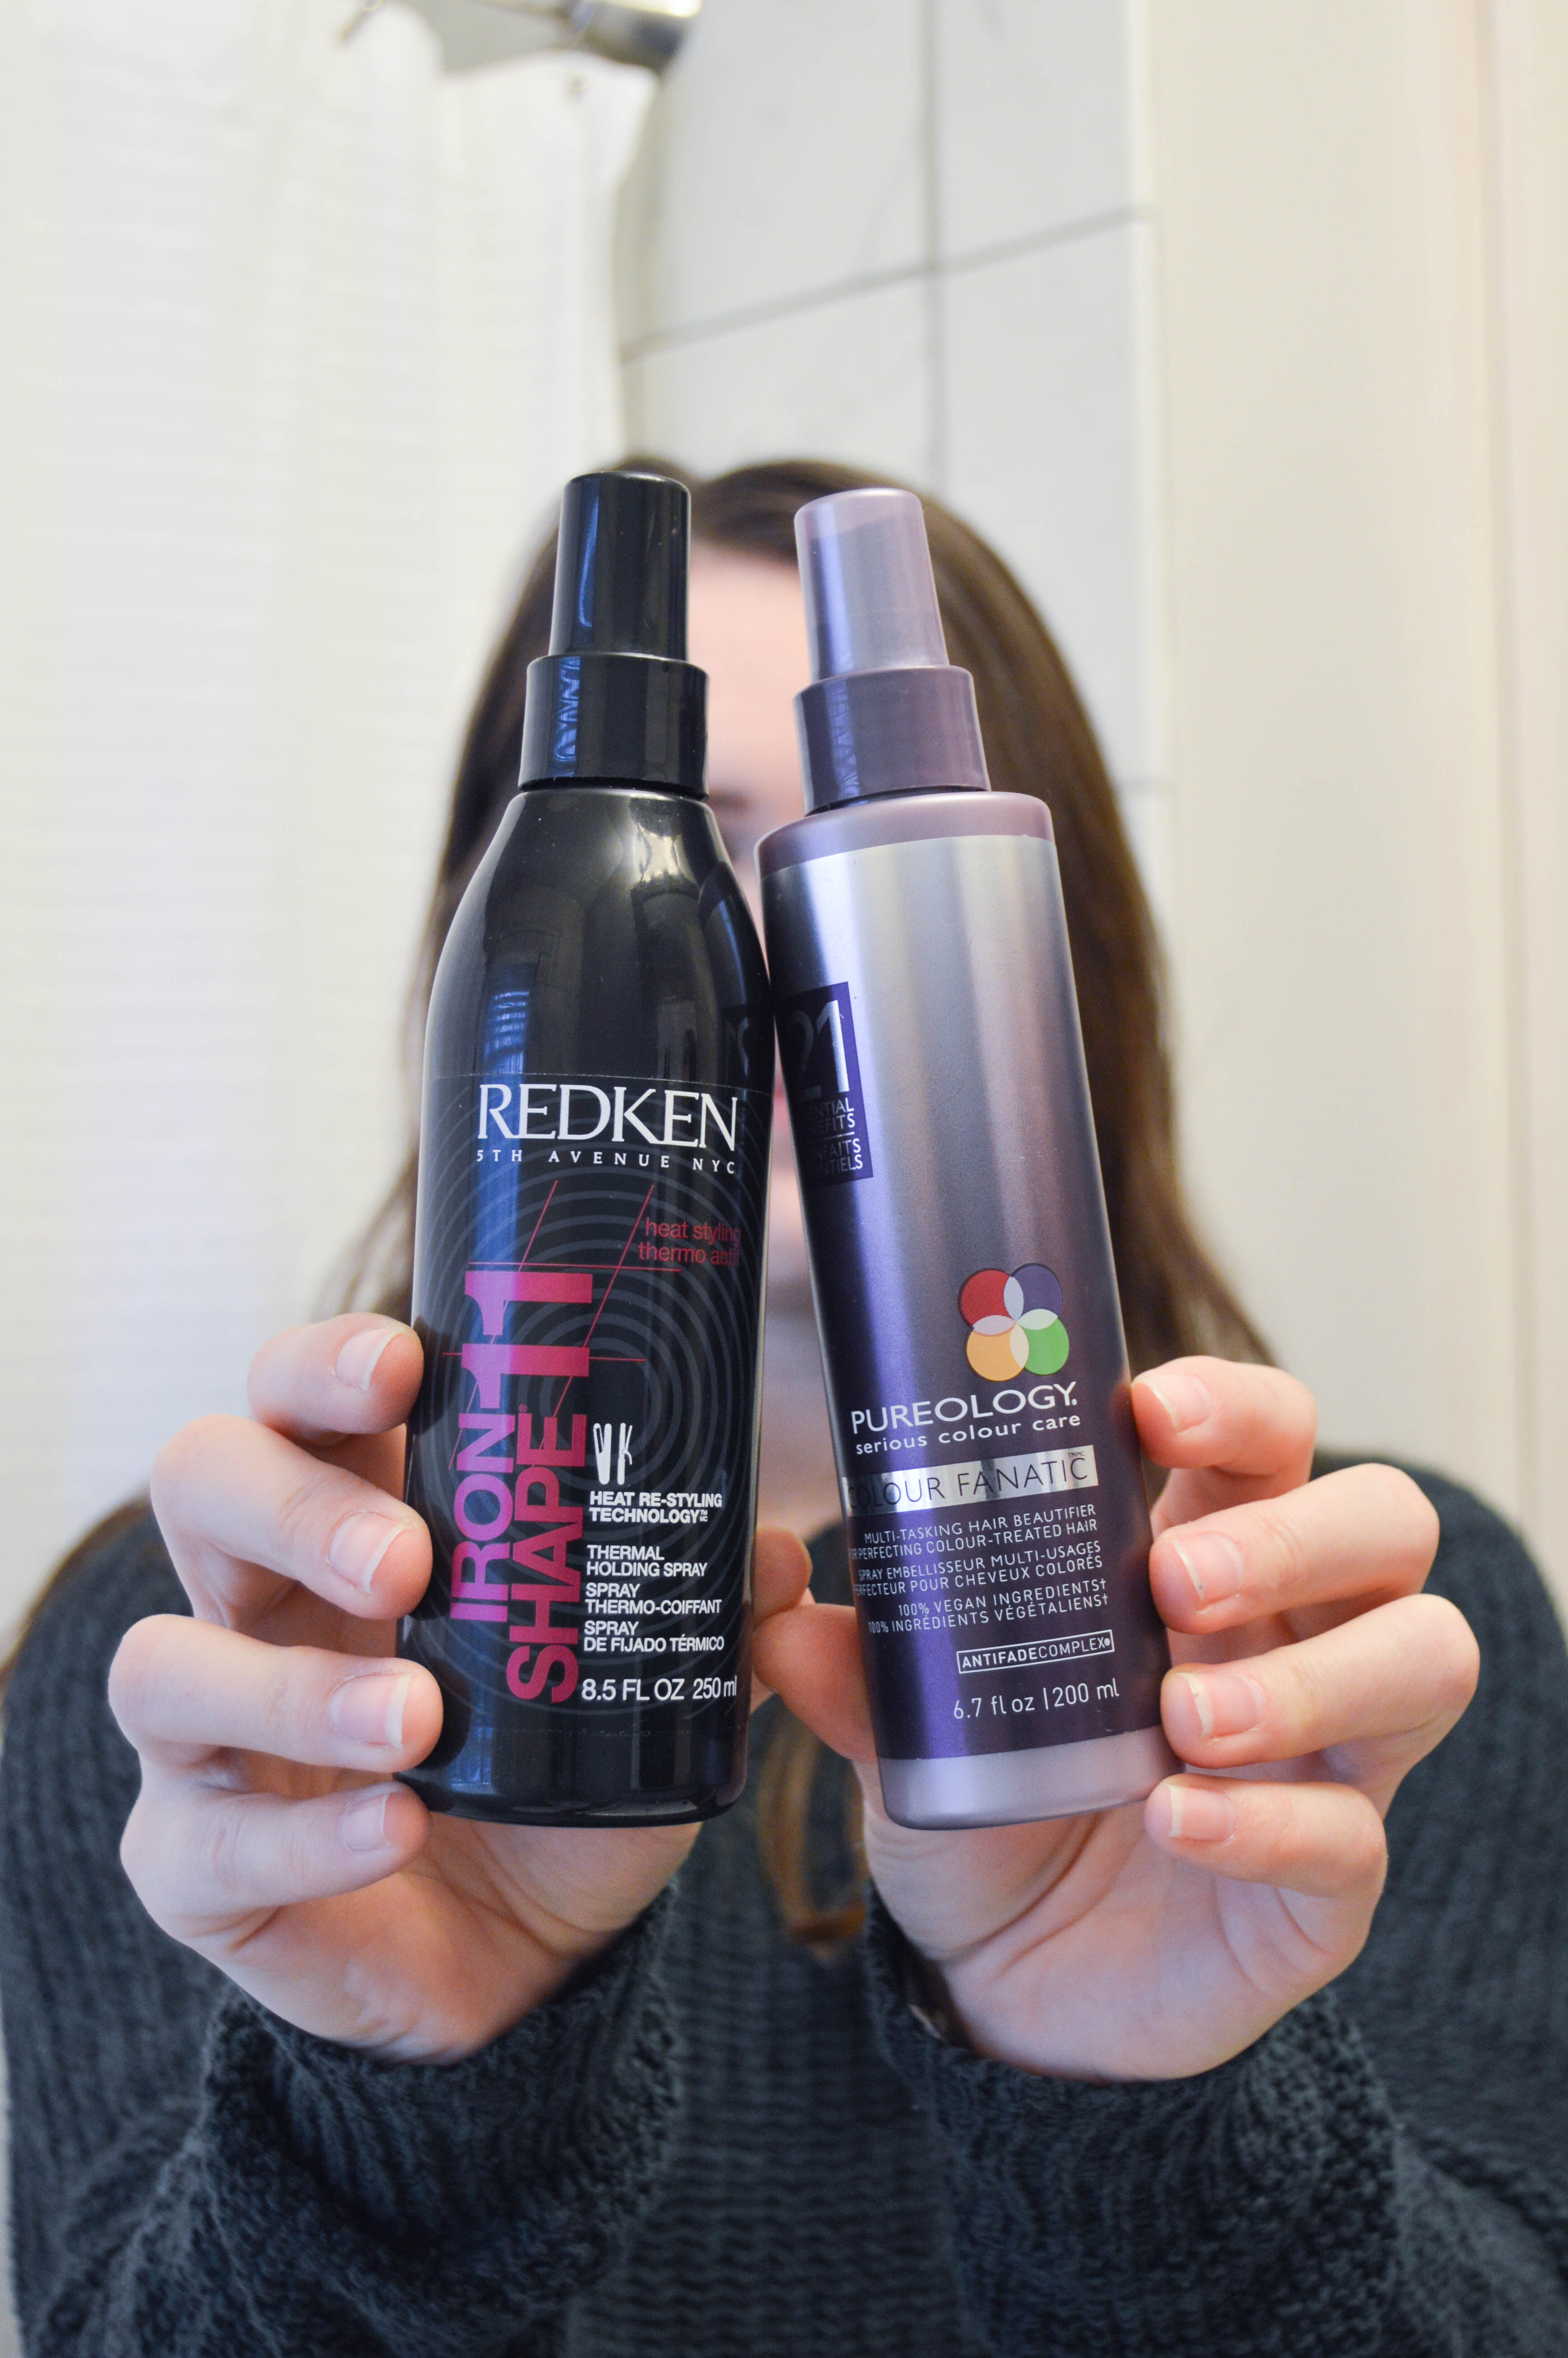
When I get ready to style – I have two go-to products. Redken Iron Shape and Pureology Colour Fanatic with 21 benefits. Iron Shape is to protect from heat damage and the 21 benefit product also works as heat protection, but smoothes, moisturizes and makes my hair look fresh all at the same time.
Ok, let’s get to it, shall we?
The simplest hair curling tutorial
I have a pretty simple technique really, and you may be completely underwhelmed by it. And that’s 100% ok. I use this technique for my every day. I hardly go without curling my hair anymore because this is such a quick and easy style.
Once I have my hair prepped, I begin on one side, curling about 1 inch sections of hair at a time. I’ll pull layers apart as well. I curl away from my face on either side. As I curl each piece with a 1.25″ curling iron, I leave about 1 inch of hair at the bottom. As I unwind the curling iron, I pull down and straighten that inch of hair, leaving the ends nice and crisp.
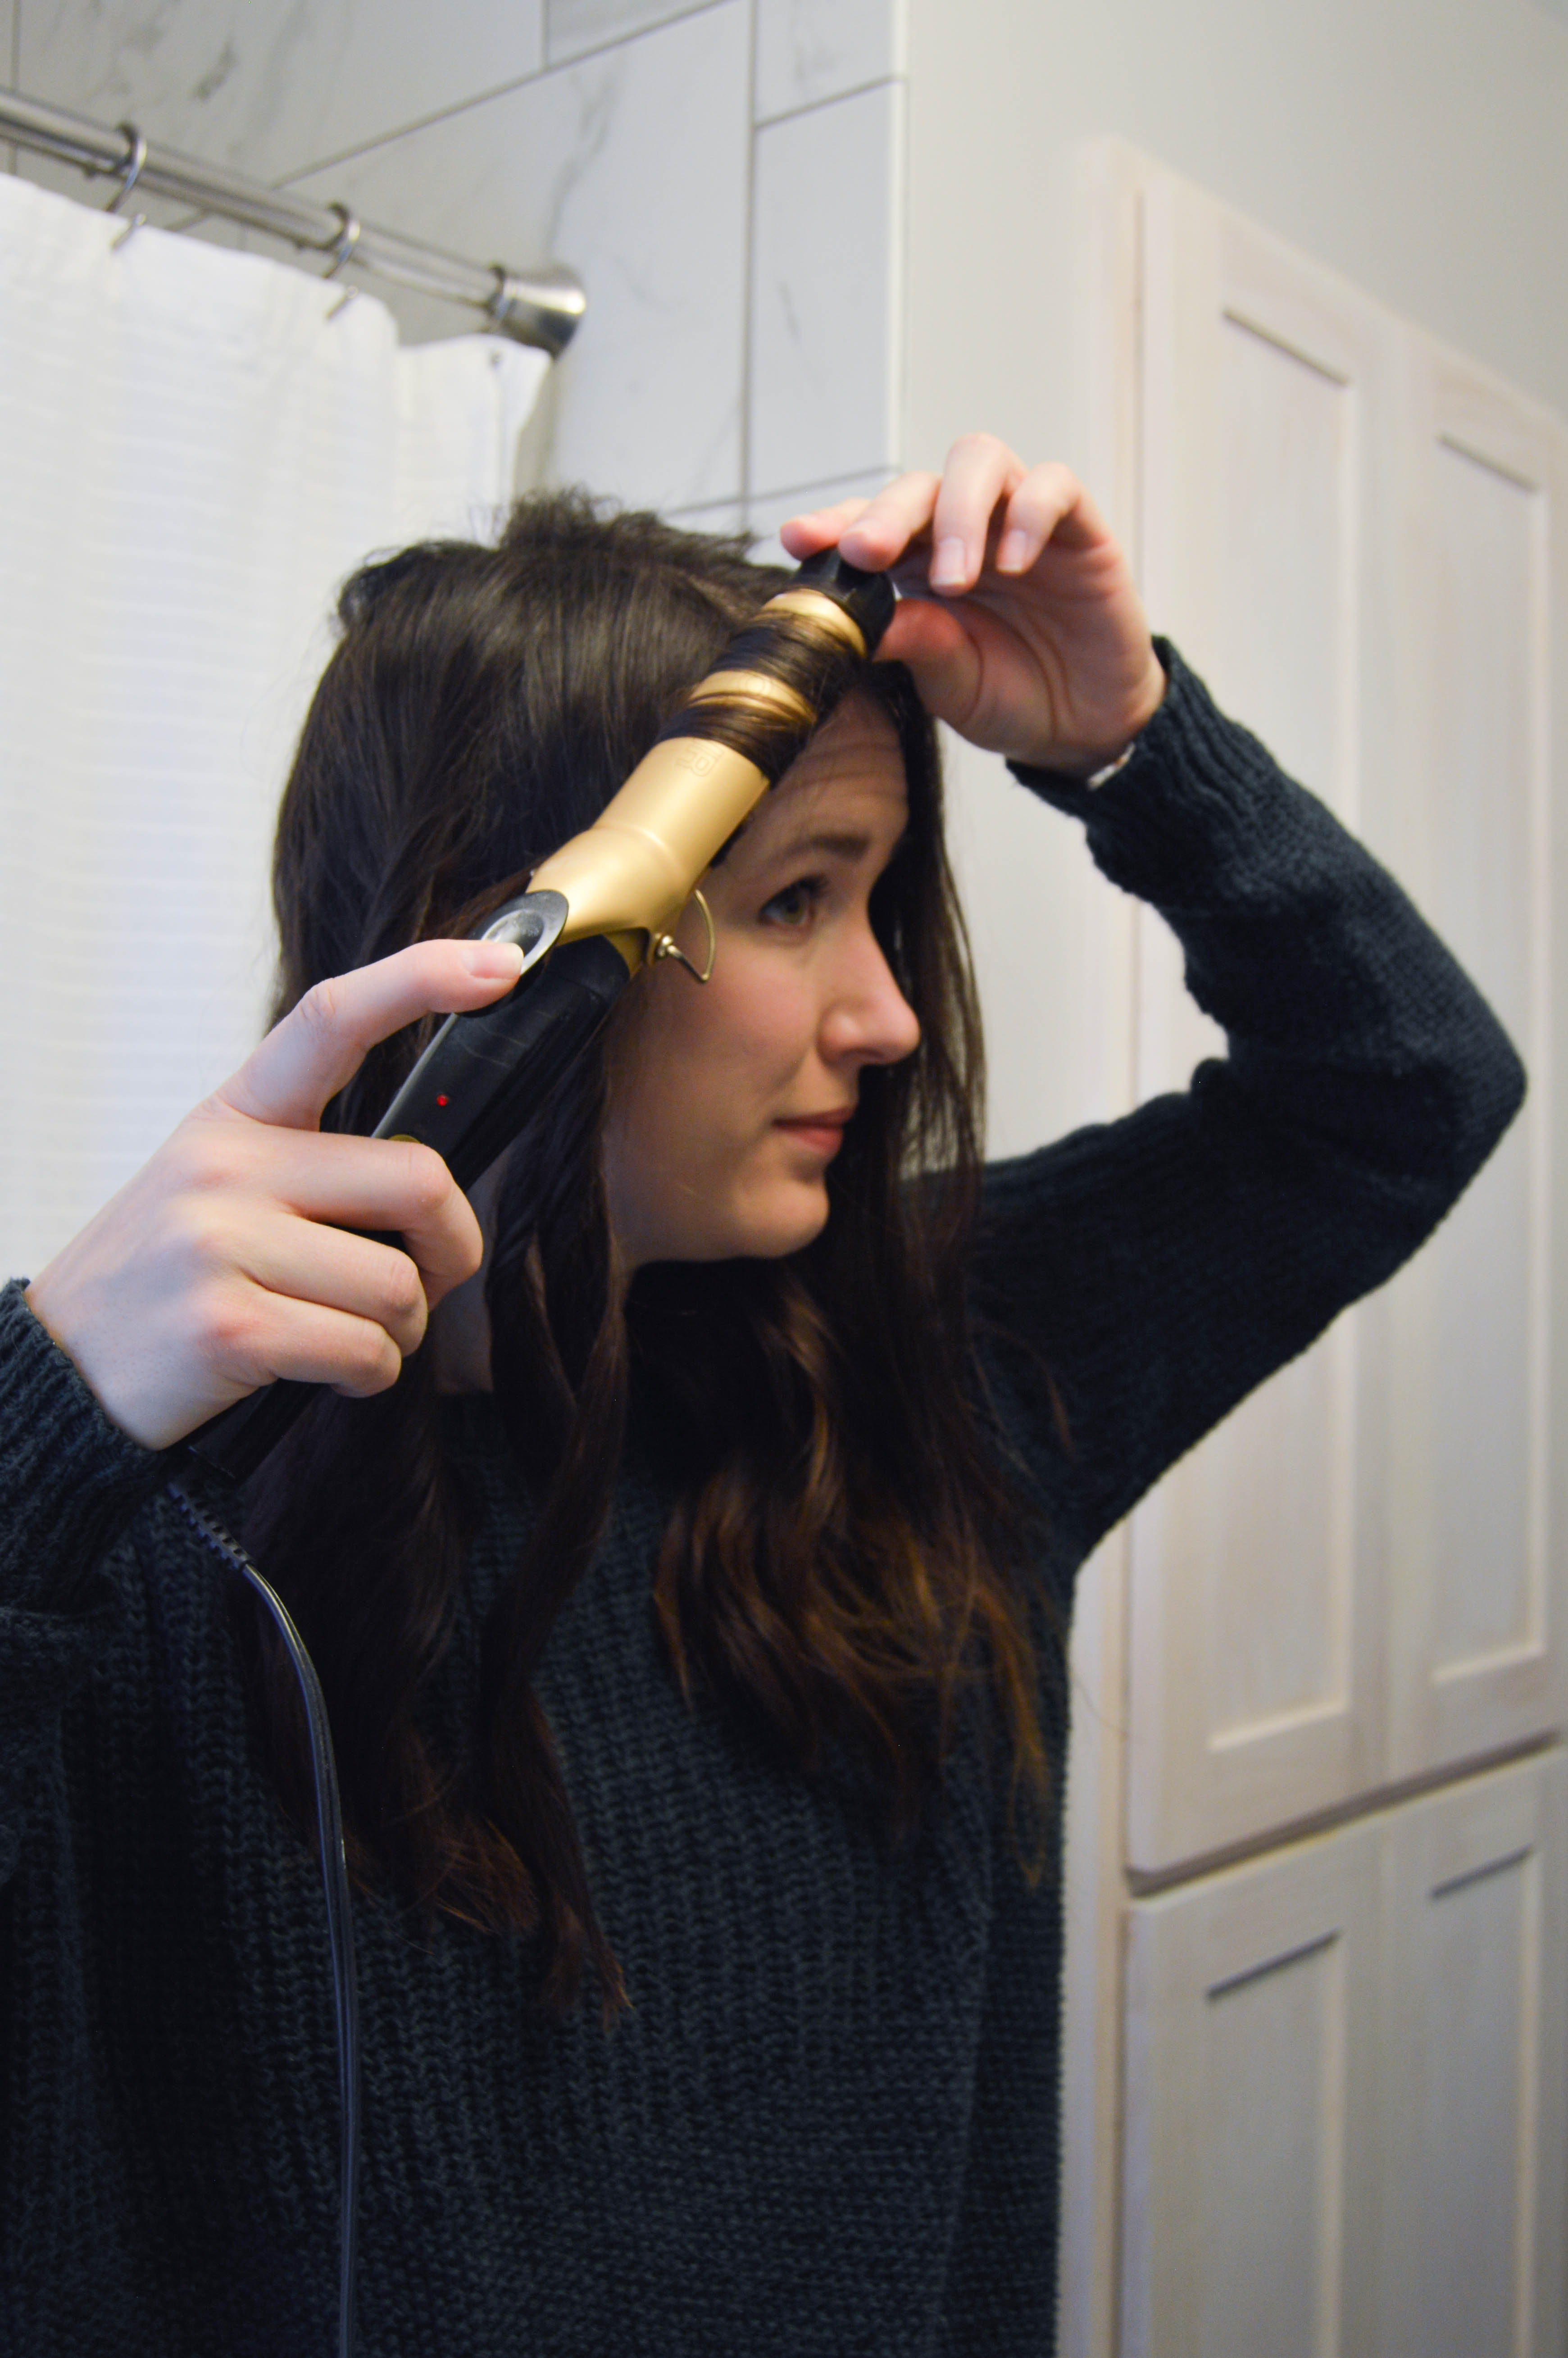
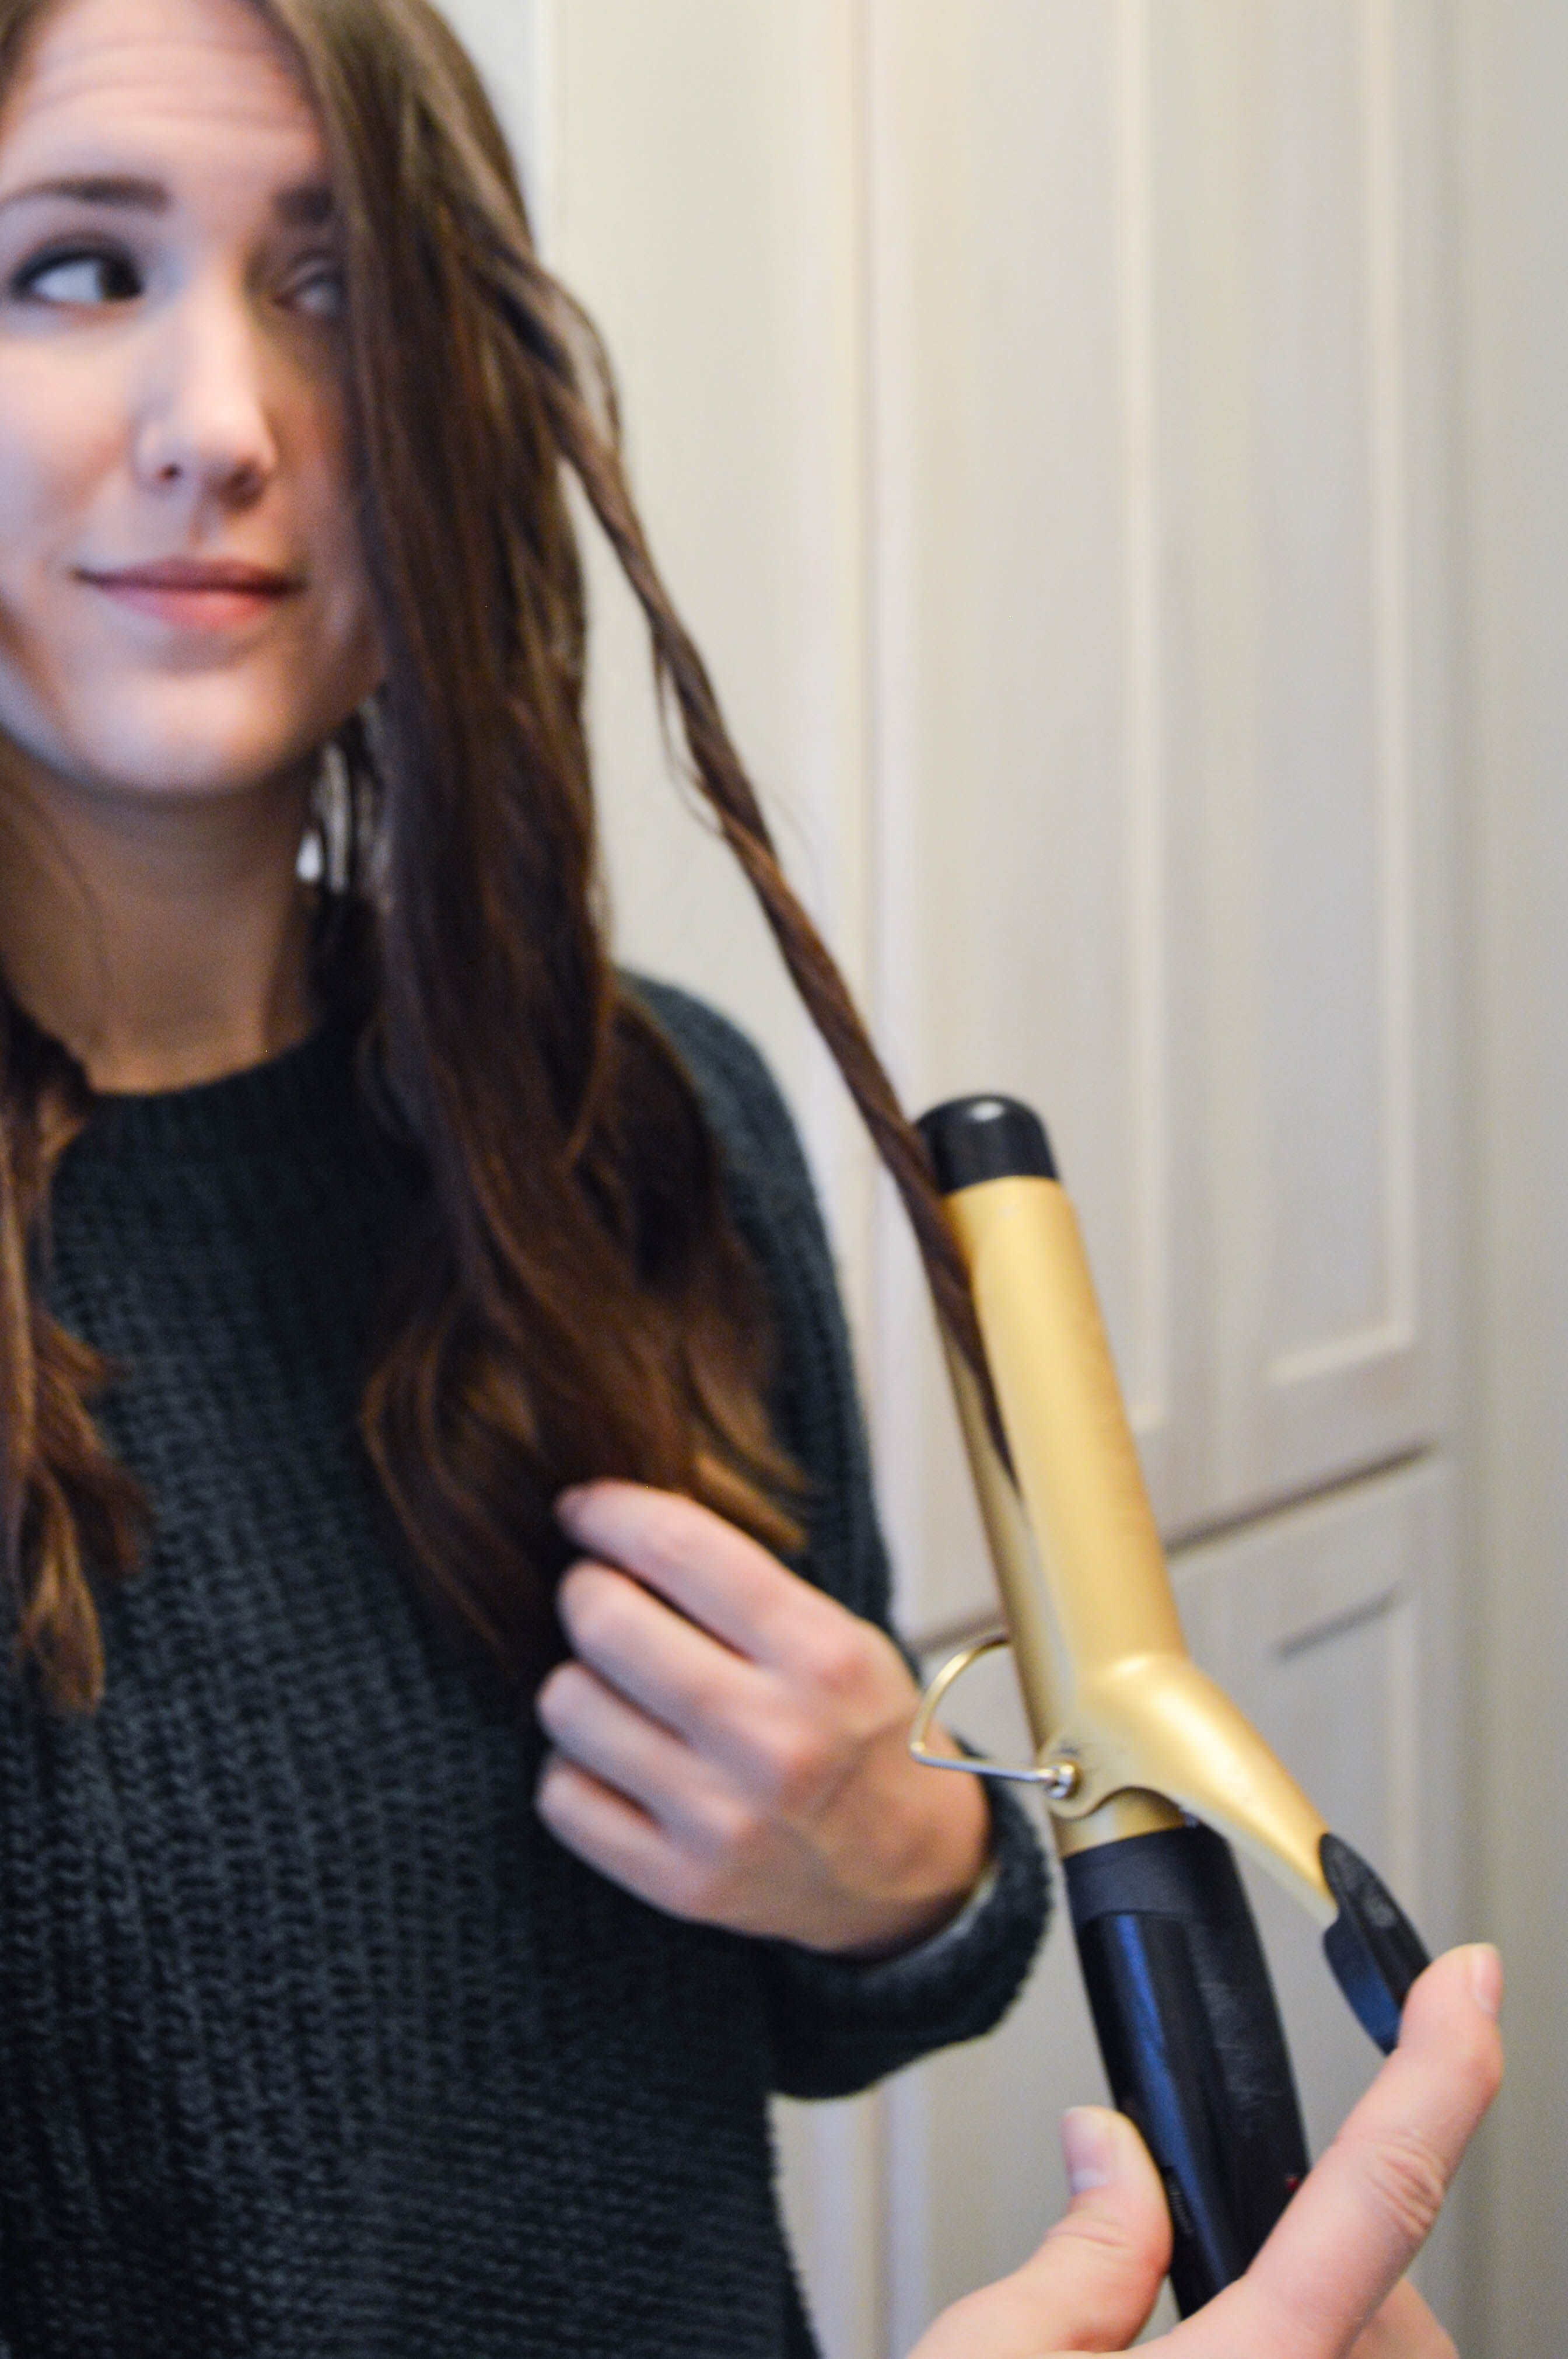
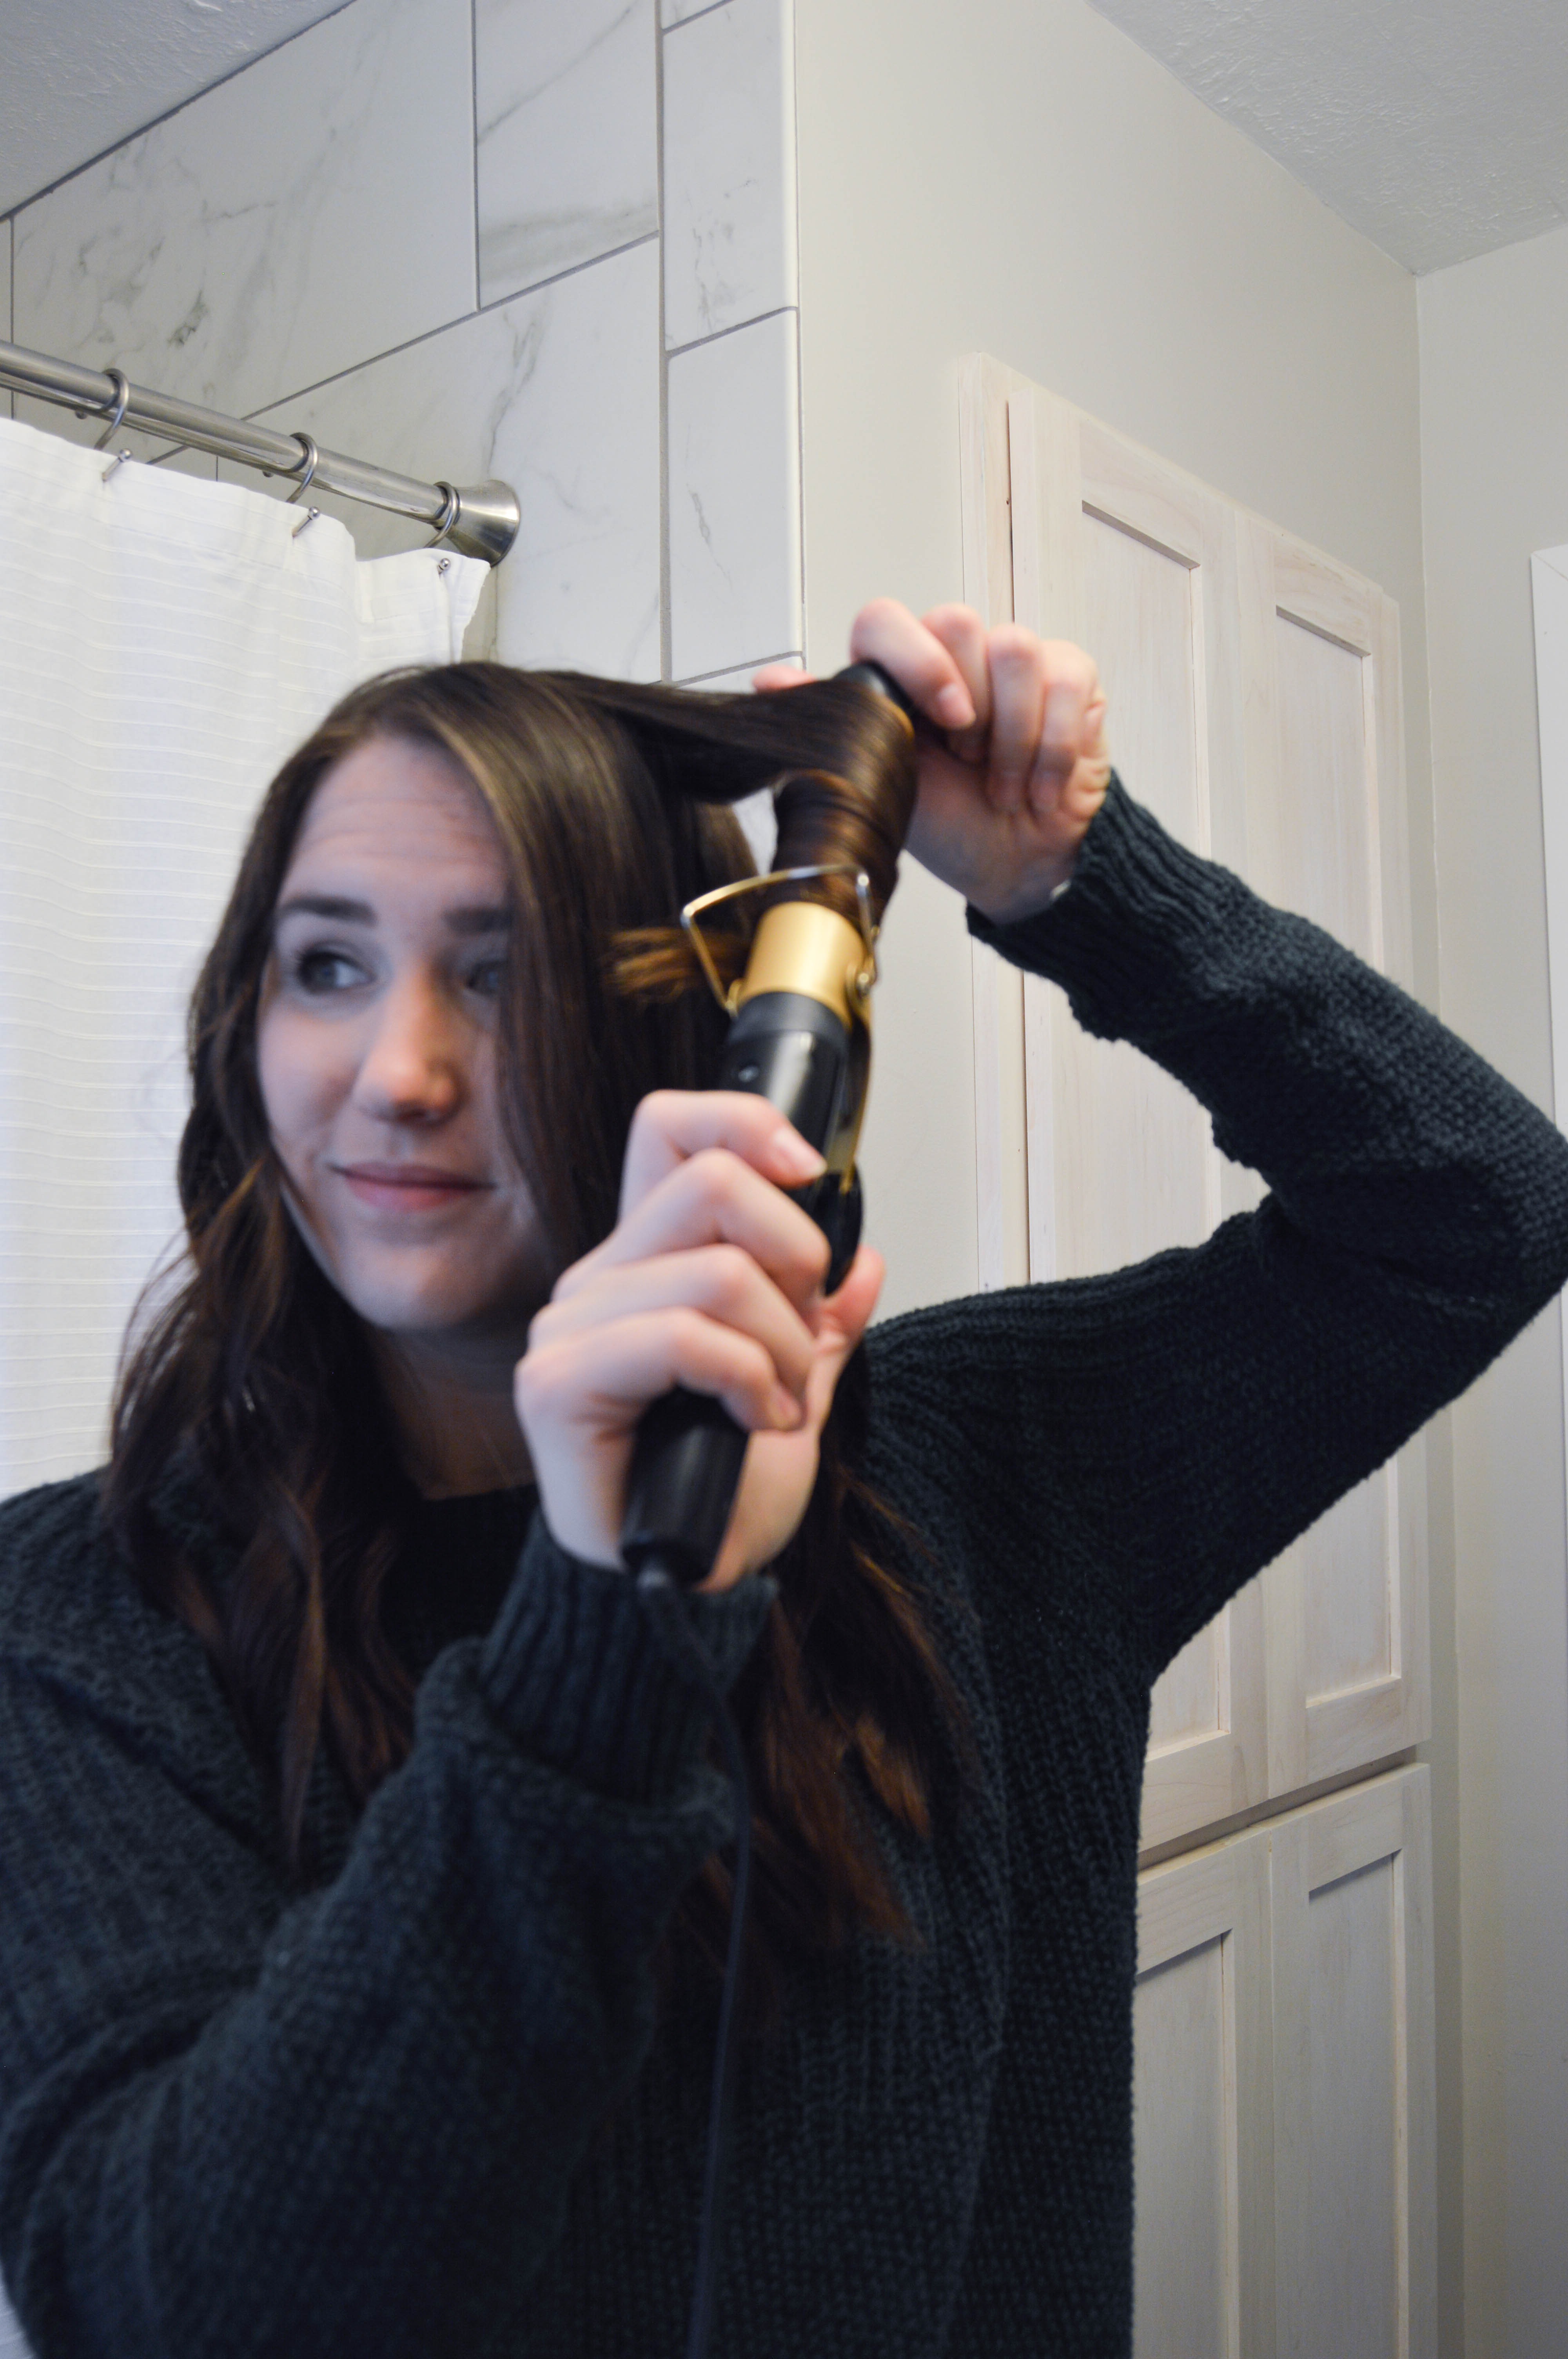
I repeat that process until I’m happy with the amount of curls. Sometimes I have to go back in and curl some top layers if I want a fuller look. No matter what, I fluff the hair from underneath to loosen the curls for a more natural look at the end.
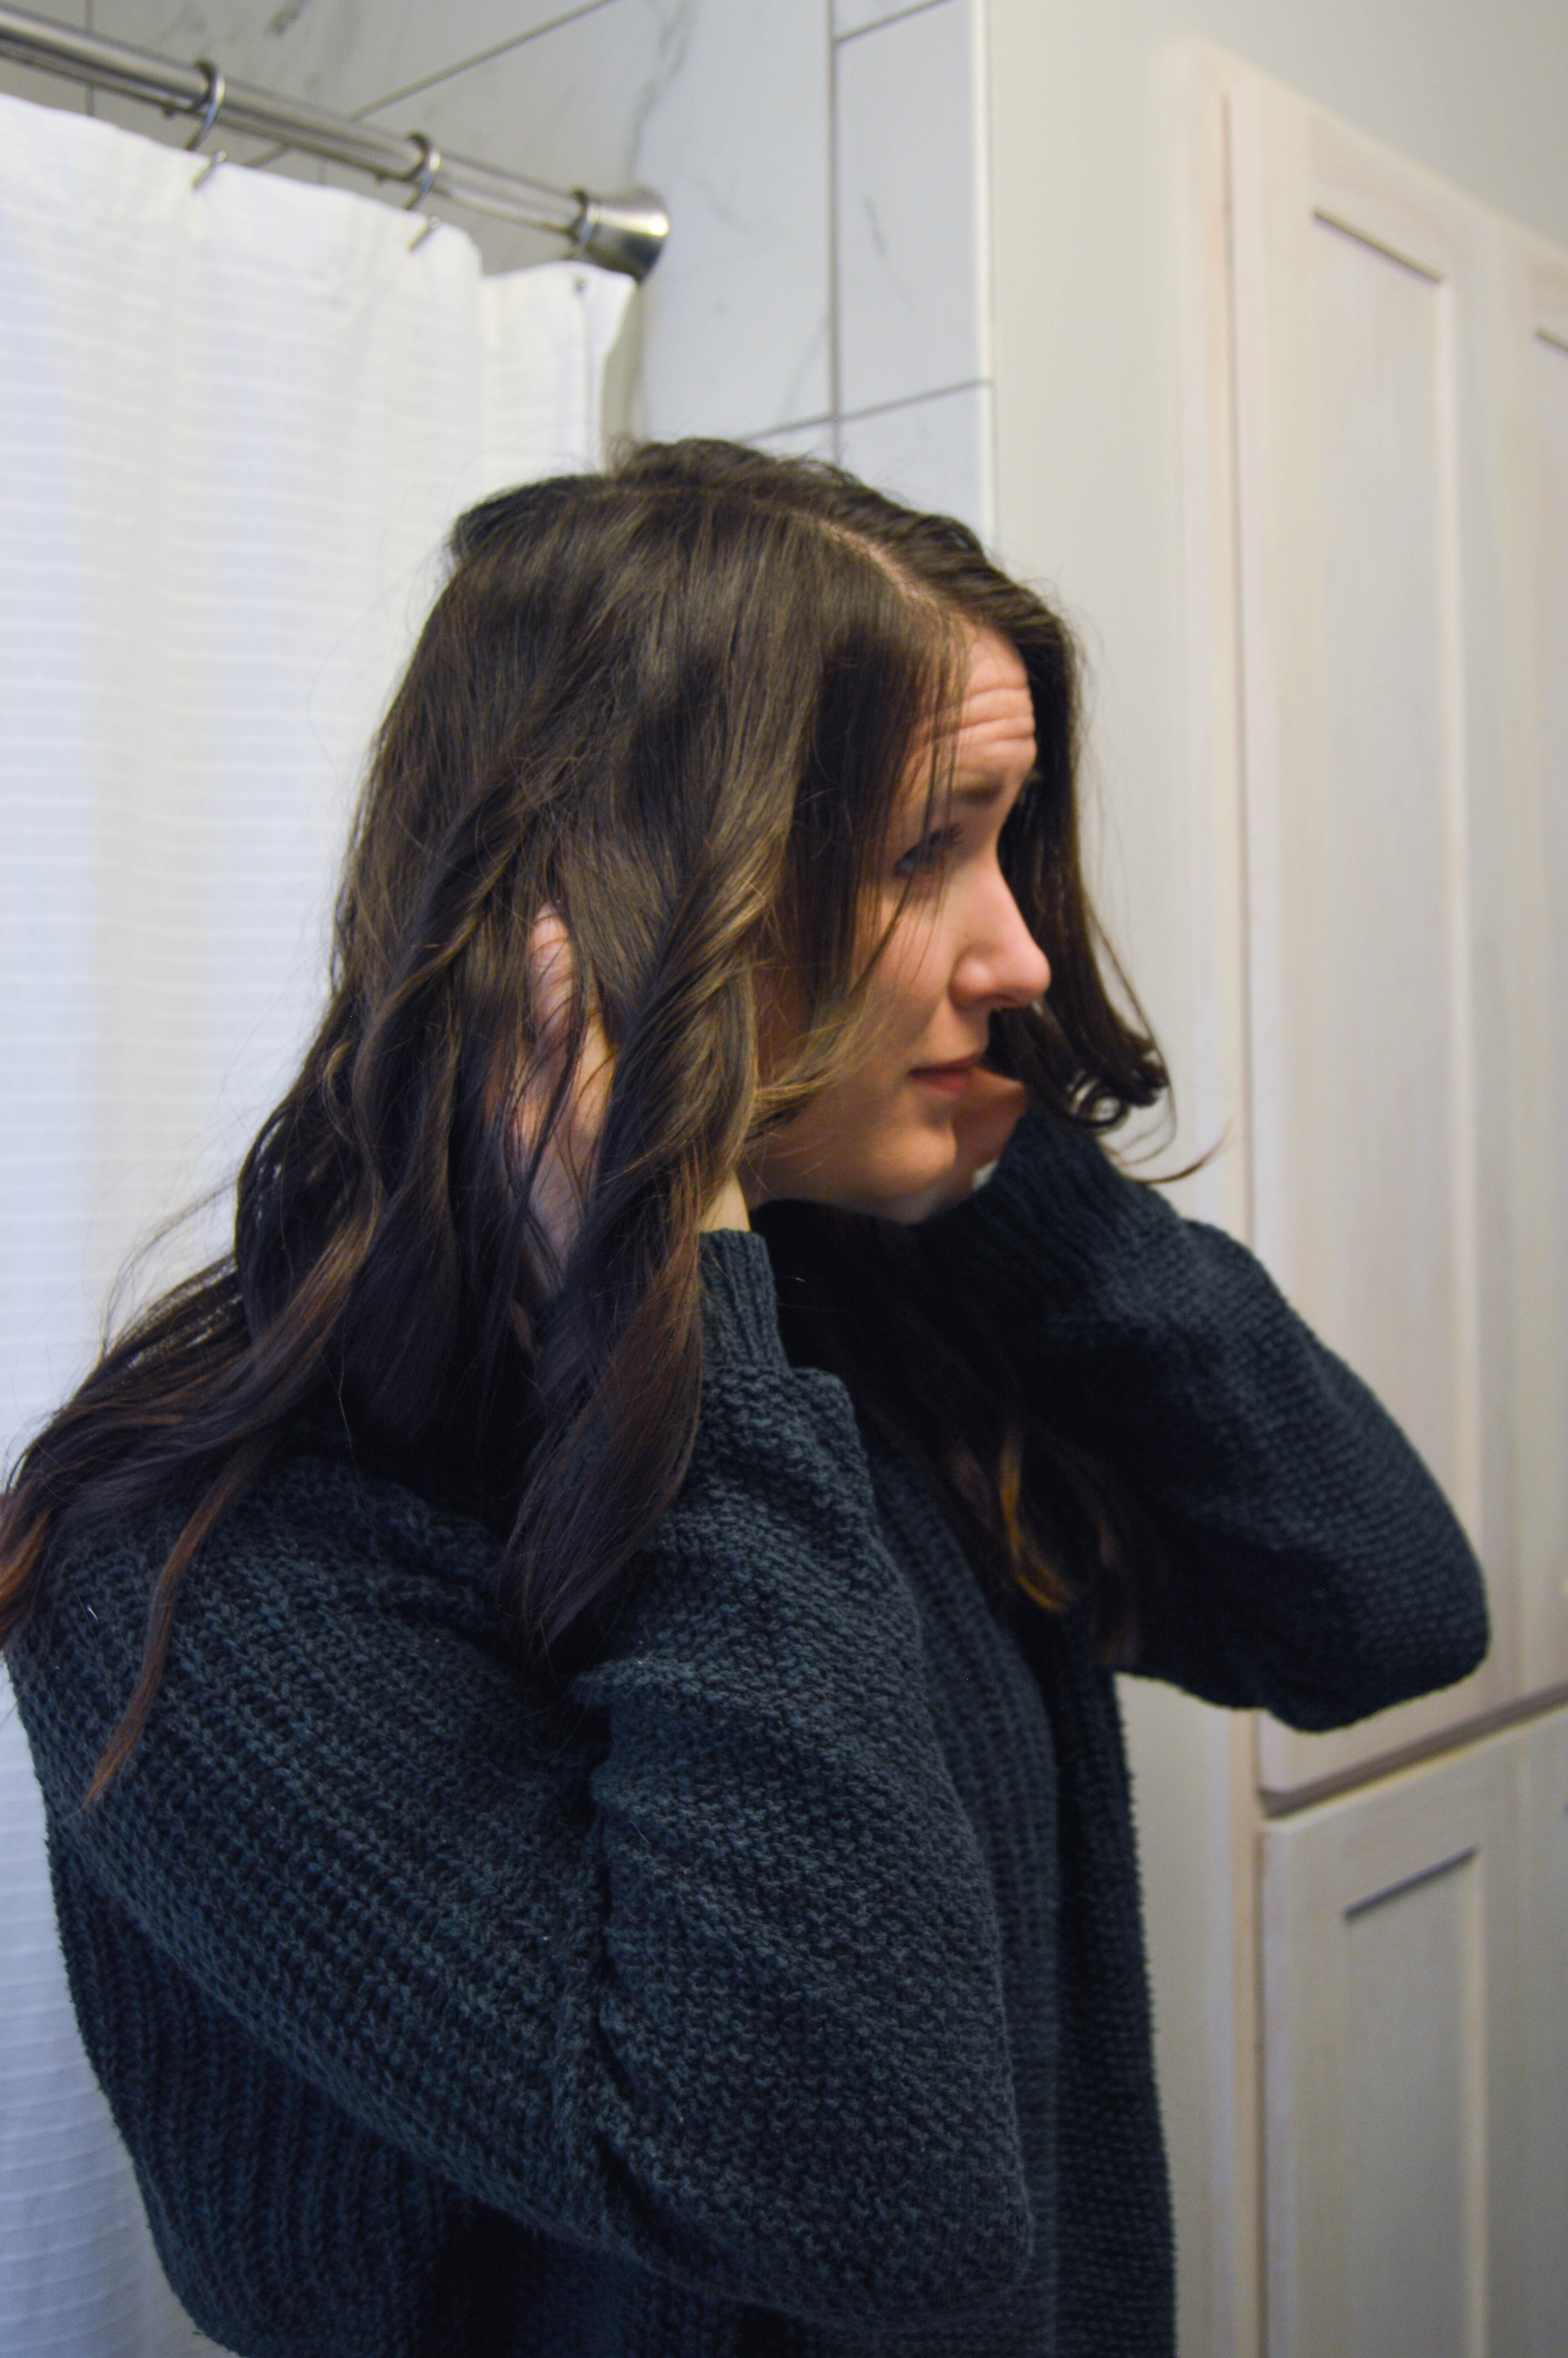
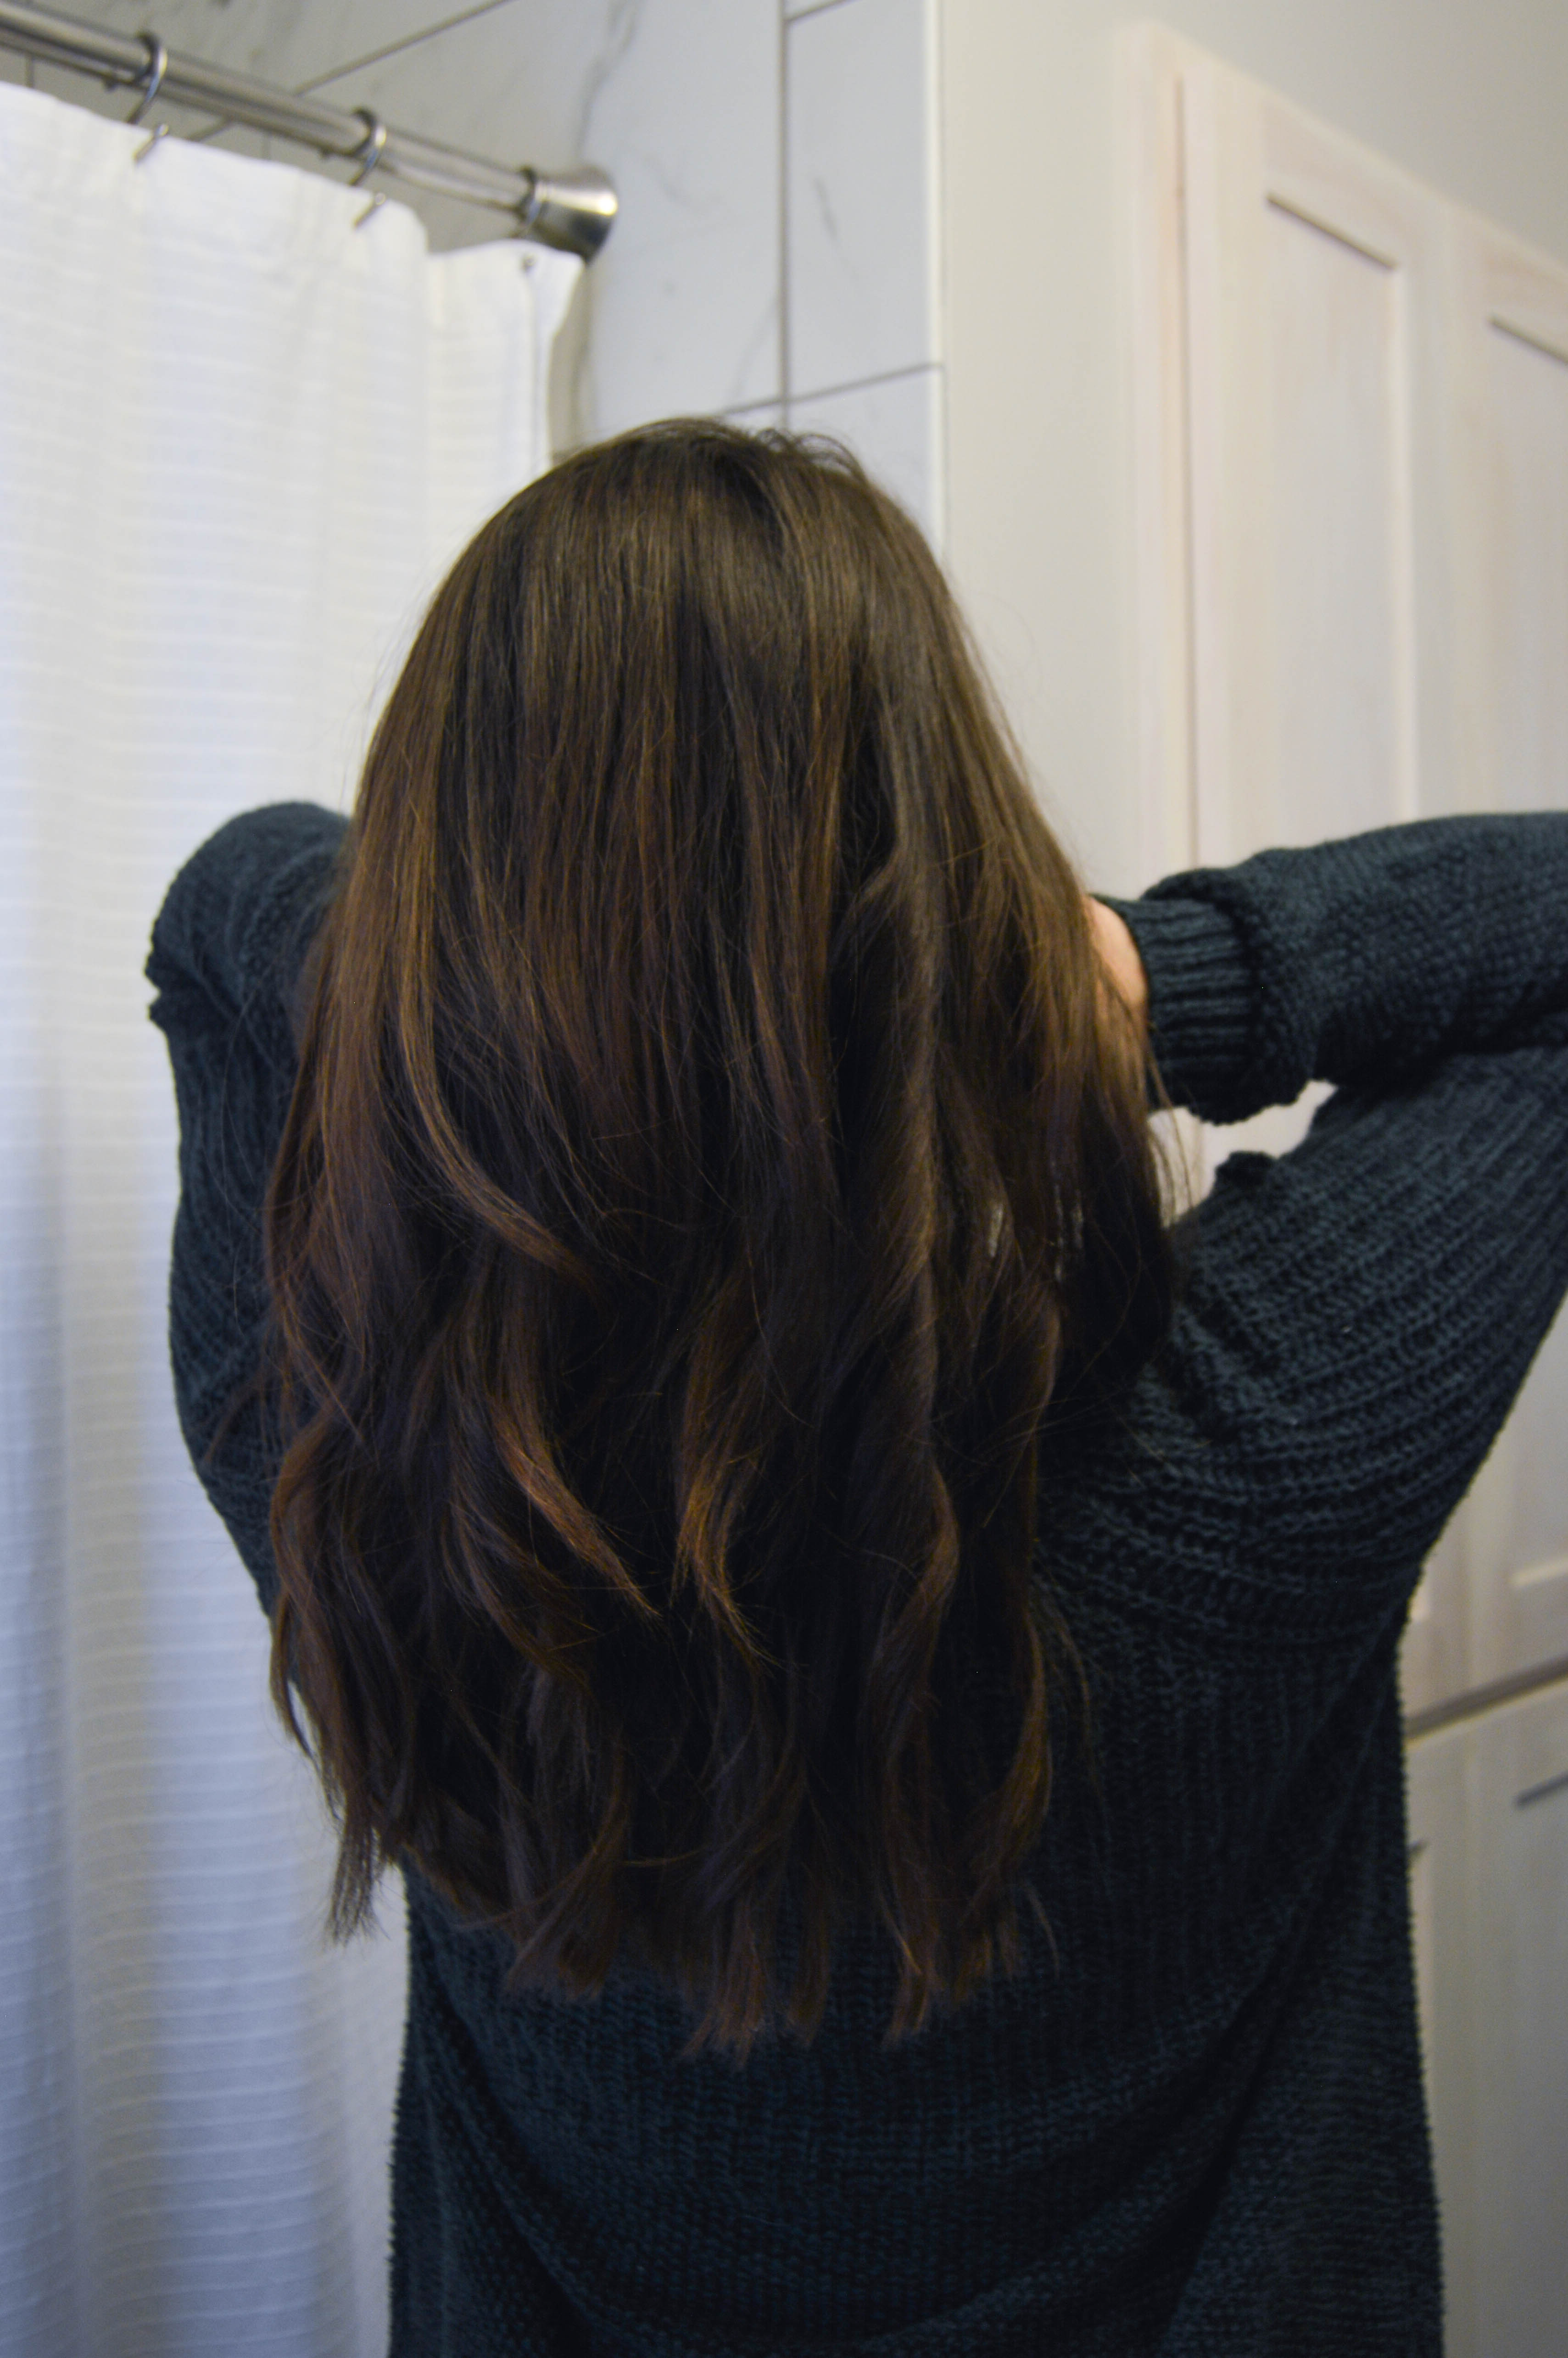
And it’s really that simple! If I’m in a hurry, I can pull this off in about 10 minutes. Which is easily what I love most. Some people who like the ends more straight actually use a straightener to finish, but I don’t find it necessary. The simpler, the better in my book.
I’ve linked the products I use below, but would love to hear if you use anything different and/or similar! I love hearing about products and processes other people use, so leave them in the comments!
xoxo. B
I may or may not have done a celebratory fist bump when I saw this in my feed this morning. You have the most perfectly curled hair, and I can’t wait for my hair to be long again so I can try to copy it! Your process is super simple – I need to master that end-straightening technique with my iron!
Yay!! I was hoping you would enjoy the post! It’s such a simple routine, but it does work. And is just so quick. I also saw you’ve been using the Kristin Ess curling iron & I’m eyeing it!
This makes me smile! Killing the hair game ♥️
Aw, yay!! Coming from you, that’s a huge compliment!
Pretty curls !! ♥️
https://jessierenea.com/self-care-good-sleep-matters/
Thanks so much!
You’re welcome!
http://www.jessierenea.com