January can be a hard month to get thru. It’s cold outside and not much is happening except football and maybe some extra hours at the gym depending on your resolutions. Personally, I like to use this month for trying new recipes, opening a new book and finding fun DIY projects.
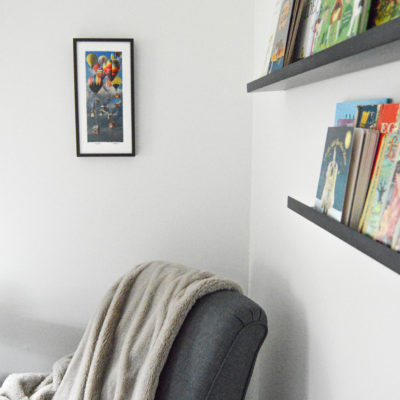
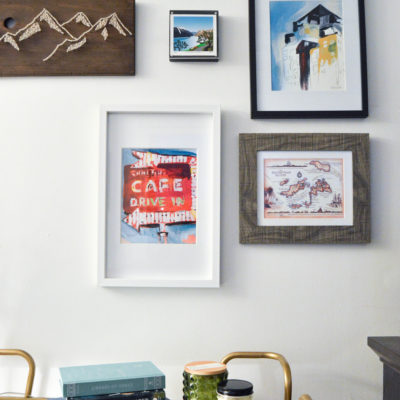
I’m all about unique art in a home, whether it’s found at a local arts festival or done on your own. Today, I’ve put together a how-to for painting with coffee! Unexpected and fun to put in a kitchen, this coffee stain canvas is easy to do and very inexpensive.
Here is what you’ll need:
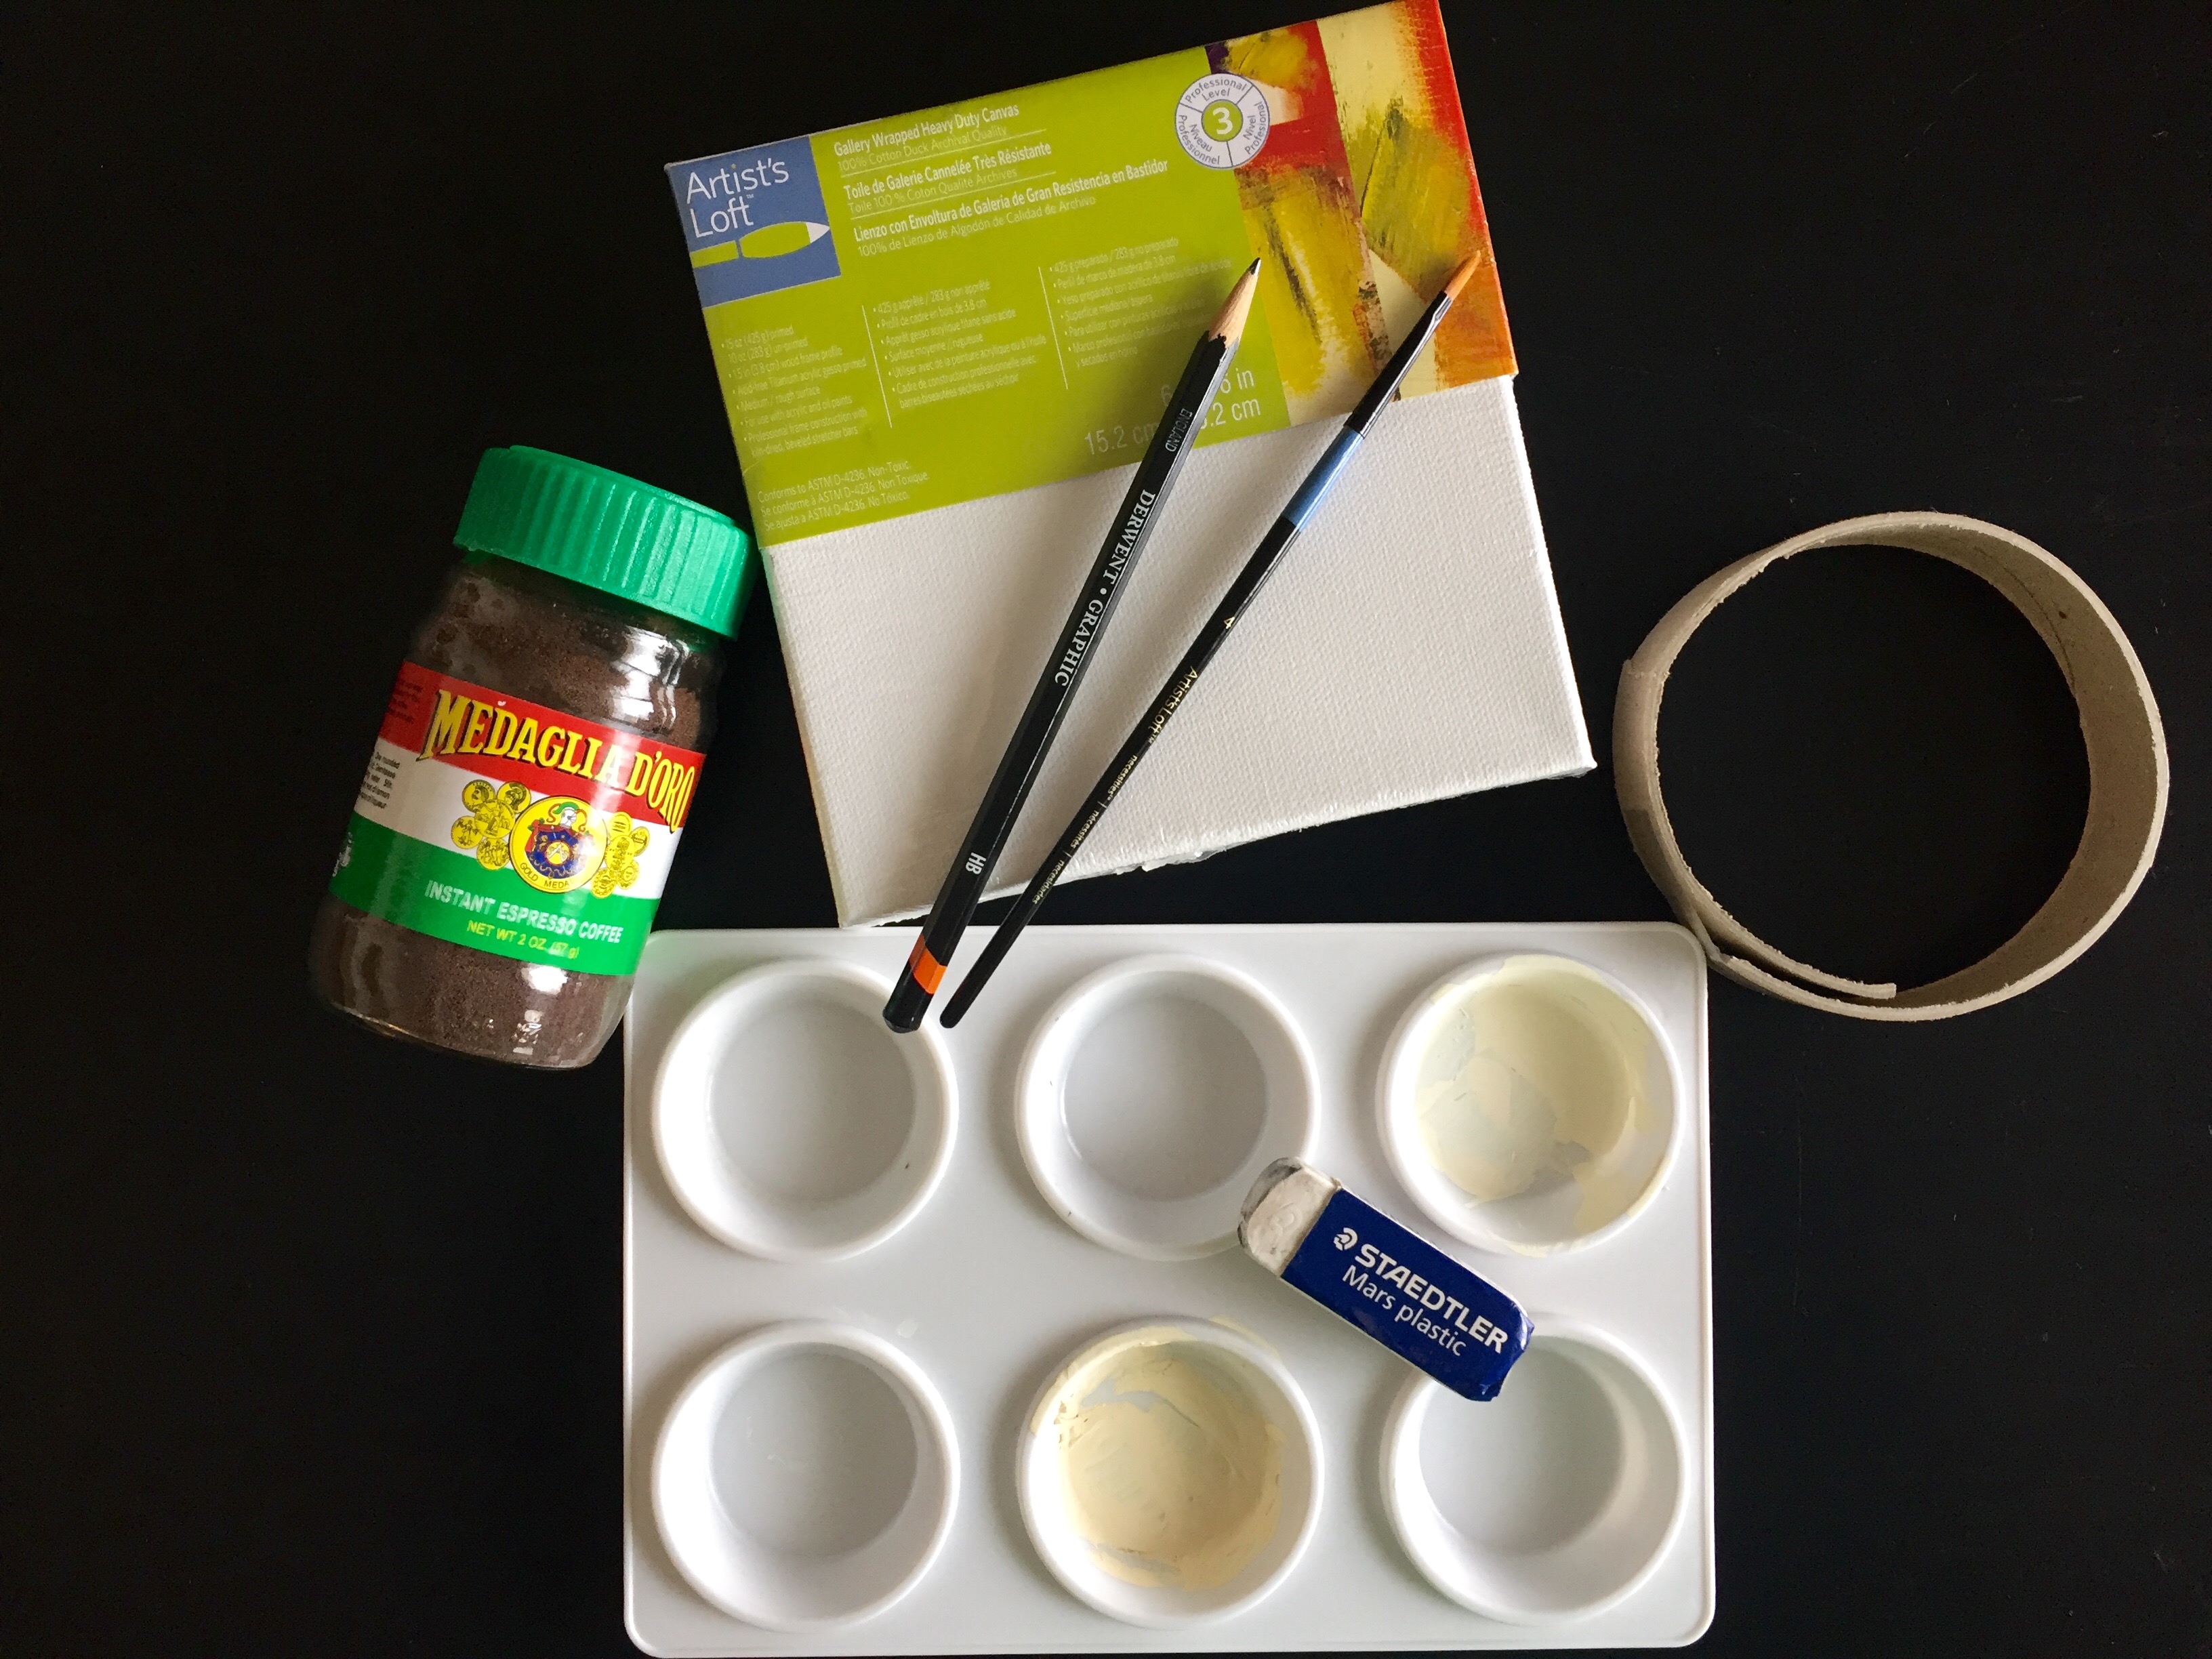
- 6×6 inch canvas (can use any size you want)
- sharp drawing pencil
- round tip paint brush
- paint tray
- coffee or espresso grounds
- eraser
- circle stencil (if desired)
First thing you will do is mix up your coffee with water to make “paint”. I personally used espresso grounds because the color seems to be richer and thicker than regular coffee. The more water you add to the grounds, the lighter it will be. Tip: use a spoon to add small drips at a time to control how dark/light you want it. I mixed two intensities for shading.
Now, grab your canvas and stencil. My stencil is homemade from scrap cardboard. This is easy to do, but if you prefer freehand, that will work as well. Lightly trace the circle about 3/4 the way around, leaving a gap between points.
Unfortunately, coffee stains aren’t perfectly shaped, so here you will use your imagination (or Google coffee stain images) to create the coffee stain shape you desire. Lightly draw a new outline using the circle as a guide. Erase any lines you want to get rid of. Don’t worry if it isn’t perfect – that’s the best part of this DIY!
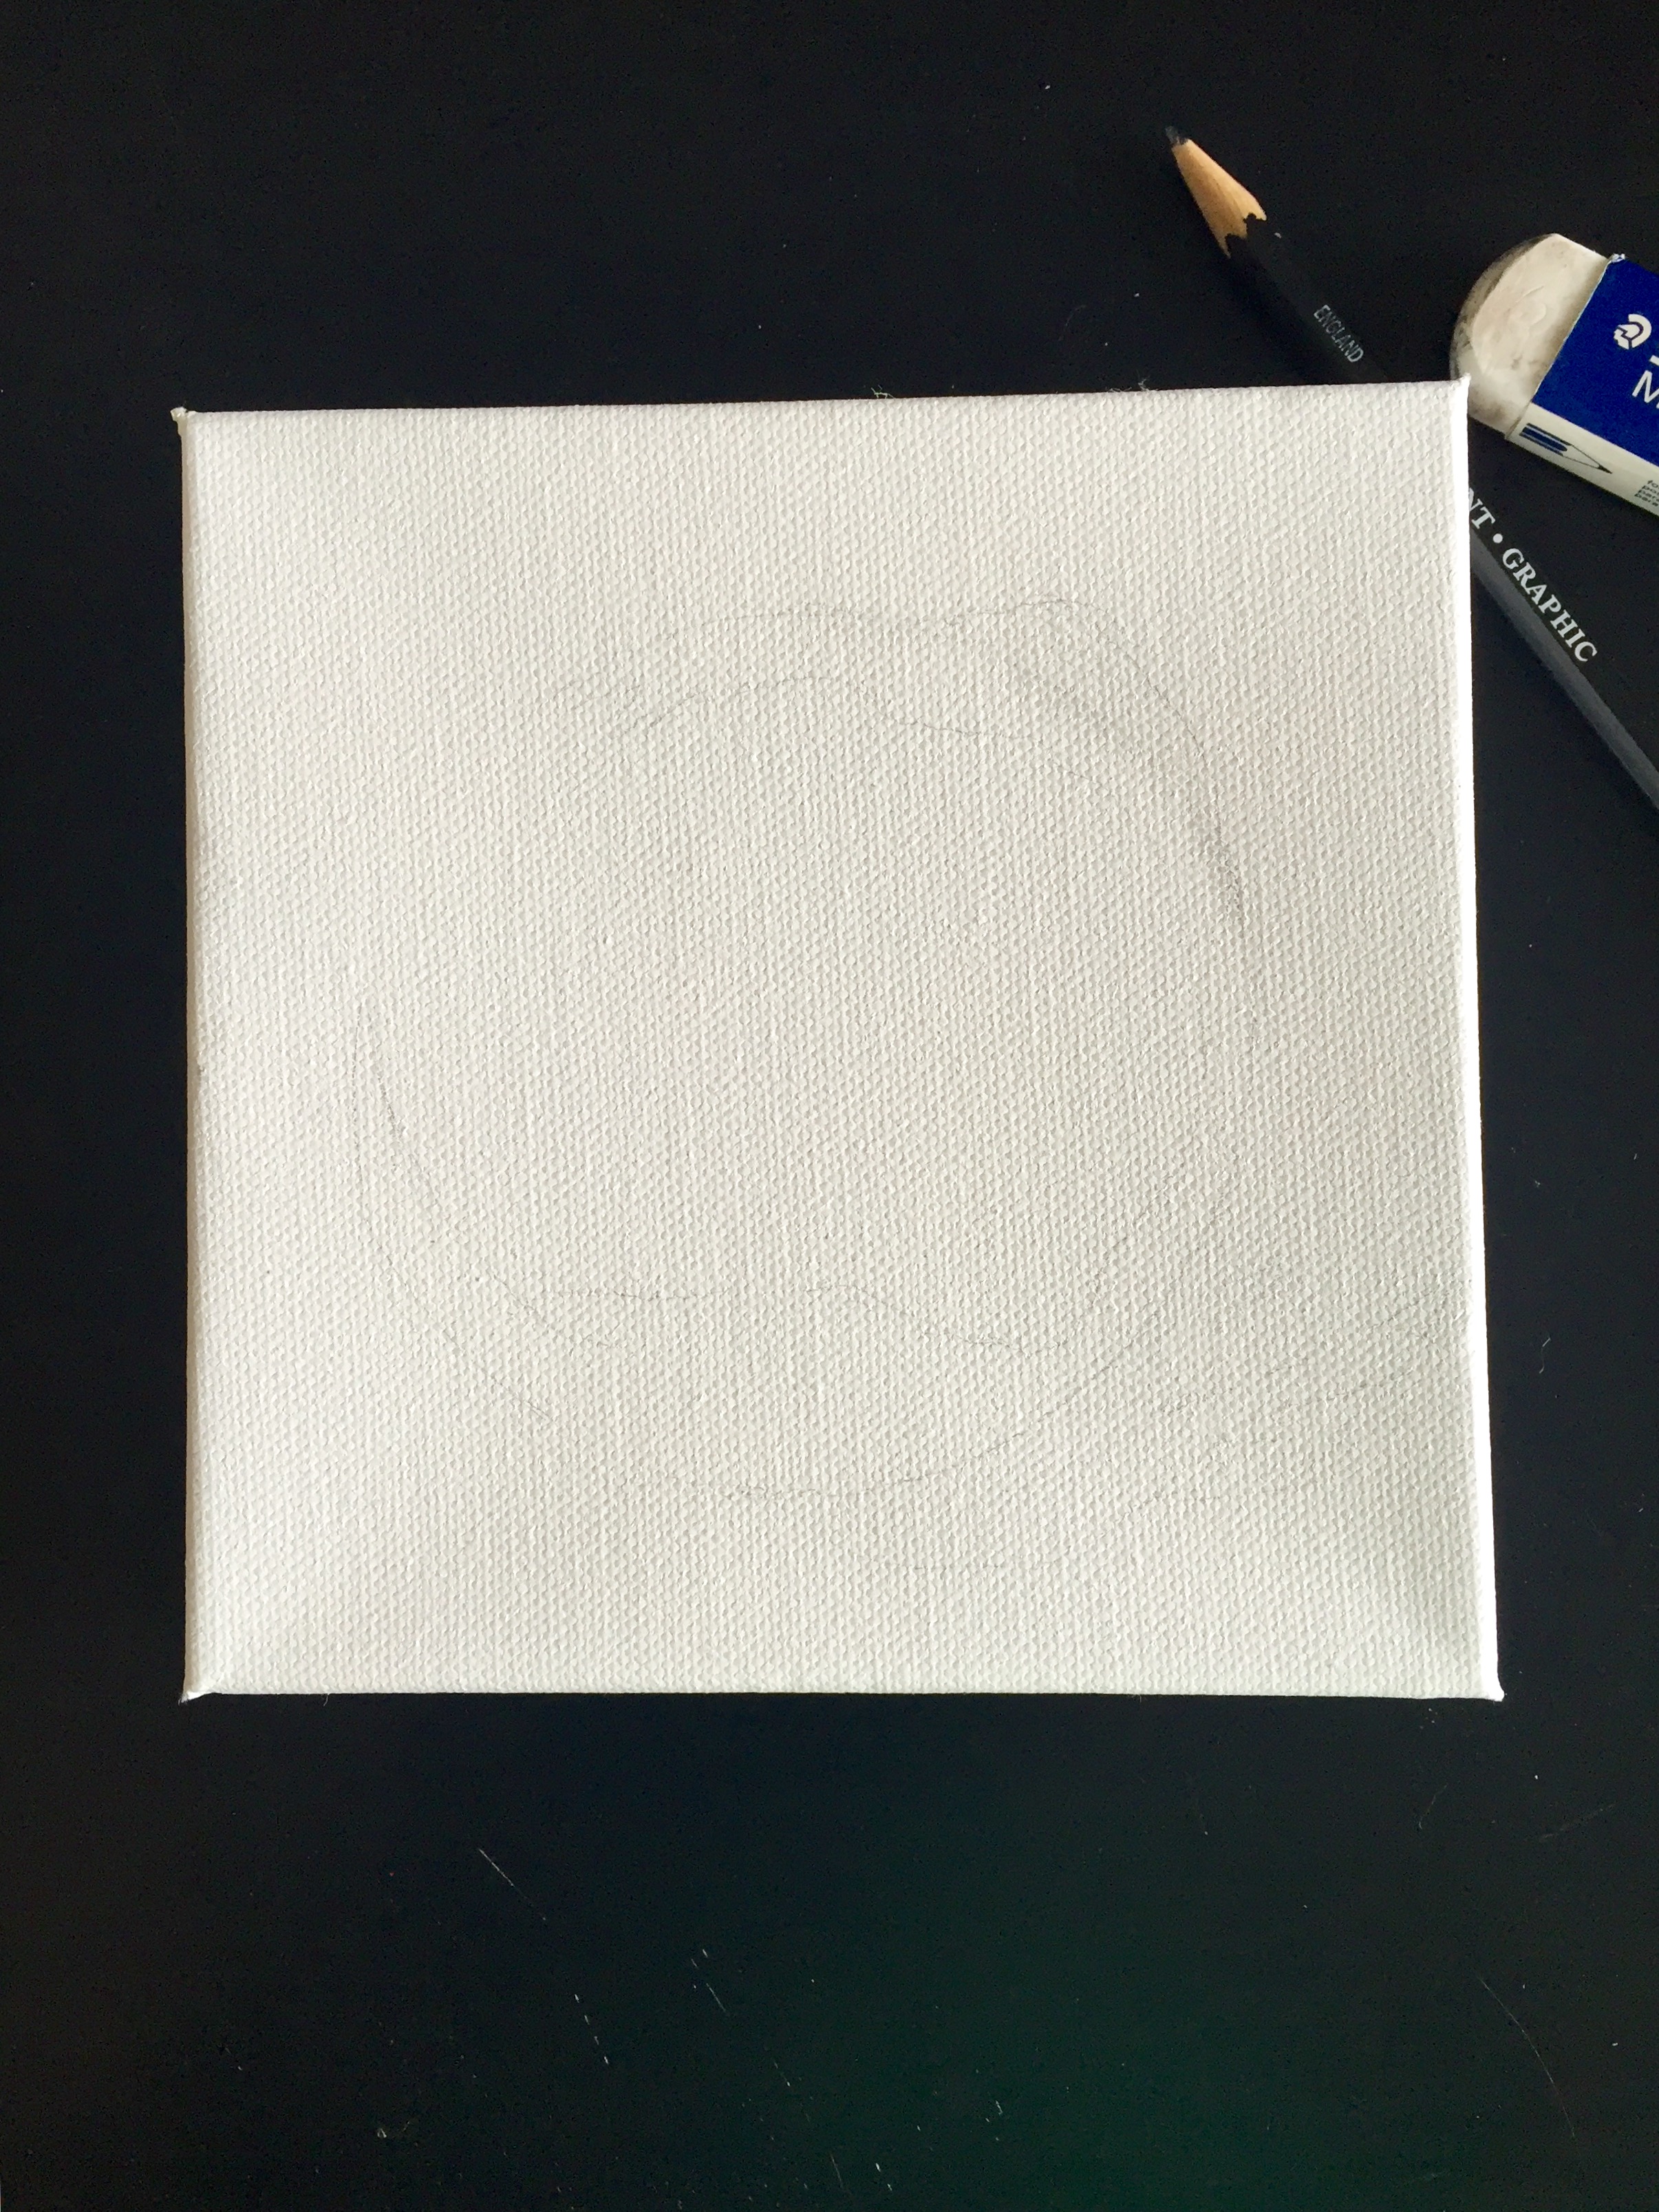
Once you’re happy with the outline, you can begin applying the “paint”. Use the lightest blend first to fill in the entire shape. Tip: do not soak your brush too much – it is a very thin and watery medium and pools up easily. Allow it to sit for a few minutes and dry.
You may notice the edges blur as the coffee seeps across the canvas a little. This is fine as it makes the stain look natural.
Next, you will use the darker blend to add accents around the edges. This is a “shading” process. Once your darker spots are placed, wait another few minutes for those to dry. Repeat this process and work between both mixes to blend the colors, waiting a few minutes between each layer. The more layers you build, the more intense the color and more interesting the stain gets.
Allow your final layer to dry for about 30 minutes or until the coffee has a glazed look. You want to avoid any dripping.
The finished product is abstract and so fun to hang on a kitchen wall or set up on the counter. Adding “coffee” in calligraphy or painting the canvas edges black would be great variations. If you have a bigger space, try creating a trio of different coffee stains.
So unique!
This is a great DIY for a winter afternoon – and the coffee smells are an added bonus! Comment below with questions or share your version on Instagram – @agnes_wright.
I haven’t forgot about you vino lovers. Look for my wine tutorial coming soon!
xoxo. a


